httpvh://youtube.com/watch?v=QZWaZg28qNI
Log In To WordPress
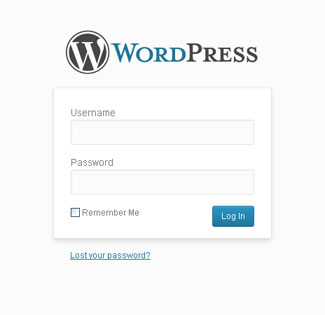 To login to your WordPress site as mentioned in the video above, you’ll need to type in your URL with “/wp-admin” on the end. So it will look like this:
www.yourdomain.com/wp-admin
You will need your username and password to login. If someone else created your WordPress site, you will need to contact them to get your username or password. It’s possible it was emailed to you at the time your website was created.
You can also click the “Lost Your Password” link to recover your password but you will need to know the admin email address for your WordPress site. An email will be sent to the admin email address and you will need access to that email account to reset your password.
Visual and Text Tabs in WordPress
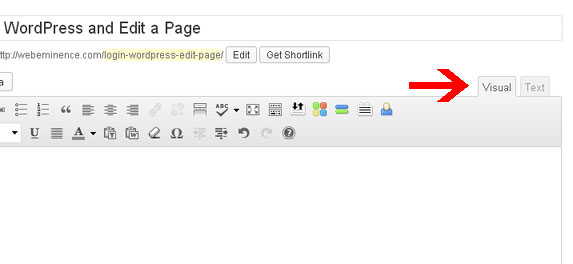
One concept I didn’t cover in the video is the difference between the Visual editor and the Text editor. You can switch between these two views by clicking the tabs shown in the picture below. If you are a beginner to WordPress, it is a good idea to stick with the Visual editor. The Visual editor gives you a more accurate view of how your page will appear when it is viewed live in a browser.
The Text tab is used to view the HTML code for the page. This may be a little confusing if you don’t understand HTML code and you are more likely to mess up your page if you work in the Text editor. So the Text tab should only be used if you are very sure of what you are doing.
Adding HTML to a WordPress Page
One reason to use the Text tab even if you are a beginner is to add HTML code to a page on your WordPress site. You may need to do this if you get HTML code to add a widget or some other content to your site. For example, Twitter and Facebook widgets can be added to your site by copying and pasting the code that is given to you when the widget is created.
When pasting code into a WordPress page, you will need to first click the Text tab to switch to editing the code of your page and paste the code wherever you’d like the element to appear on your page. If you paste the code into the Visual tab, it will not work correctly.
Don’t Worry About Messing Up Your WordPress Website
It may be scary to make changes to your WordPress site if you are not familiar with WordPress. But WordPress has some built-in functions to keep you from doing too much damage…so no need to panic. Here are a few ways to protect yourself from making mistakes and fix things when you do.
- Use the Preview button as mentioned in the video above before you Update your page. By first viewing a Preview, you can ensure the page looks the way you want it before updating it live on your site.
- The Undo button in the toolbar is your friend. If you make mistakes, you can press the Undo button to undo several of your last changes. The Undo button looks like a curly arrow and you can see it in the bottom left of the image below.
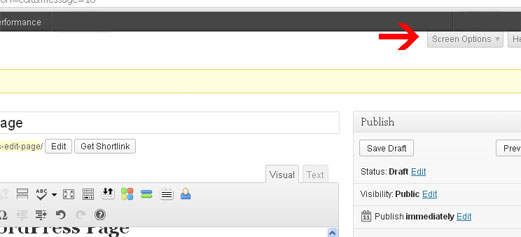
- If you update your page and make major changes that will take very long or are impossible to undo, you can use the Revisions function. The Revisions section box will show all of your previously saved versions so you can load a previous version of your page. If you don’t see the Revisions tab, you need to click on Screen Options at the top of the page to enable it. See the red arrow below indicating the Screen Options tab.