First Step in Importing to Shopify
So first, why would you need to import into Shopify? Well, it could be for a few reasons. Maybe you are switching to Shopify from a different e-commerce company or maybe you simply need to make a lot of changes to your existing products or inventory and it’s easier to do that offline through a spreadsheet. The most common reason is setting up a new store with a product list in the hundreds or thousands. Regardless of the reason, the first thing you need to do is convert your spreadsheet into a CSV file.
CSV = Comma Separated Values
If you’re using Google Sheets for your spreadsheet, exporting to a .csv is extremely simple. Go to File > Download as > Comma-separated values (.csv, current sheet). Save the file and that’s it!
It’s important that your product CSV file matches Shopify’s format. If it doesn’t, you’ll have a real mess on your hands and a bit of trouble moving forward. To get all the information you need on formatting CSV files specifically for Shopify, CLICK HERE to see a detailed chart. Also remember your file can only be a max of 15MB.
An Unfair Headstart With Shopify Product Uploads
The complexity of uploading your products via spreadsheet can be daunting, but watching a video is easy! Check out my short video below to get a headstart with my overview of the entire process in efficient fashion.
Importing Your CSV File into Shopify
With your freshly downloaded CSV file, you can head to your Shopify admin page and go to Products on the sidebar. From here you can click Import which brings up a dialogue box and the option to Choose File. Now you can find your CSV and upload it. Sounds simple so far, but there’s still more to it.
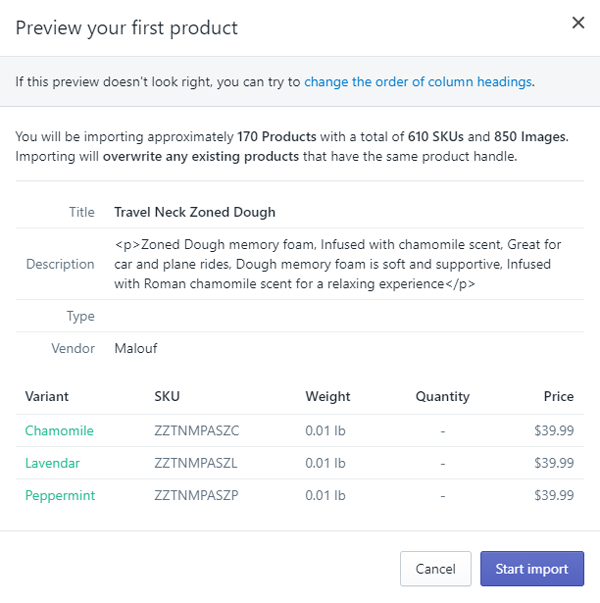
You’ll now get a sample of what your information will look like once imported into Shopify. This is where you’re going to find out whether you properly formatted your file or not. Hopefully, you did and you can now Start Import.
You’ll be notified by email once the upload is complete and your new data should appear in the Products List and on your live site.
Making Changes to Existing Products via Spreadsheet
We’ve covered importing products from a newly created spreadsheet.. Now let’s discuss editing existing products by importing product lists on a spreadsheet. The first thing you’ll need to do is export your products out of Shopify.
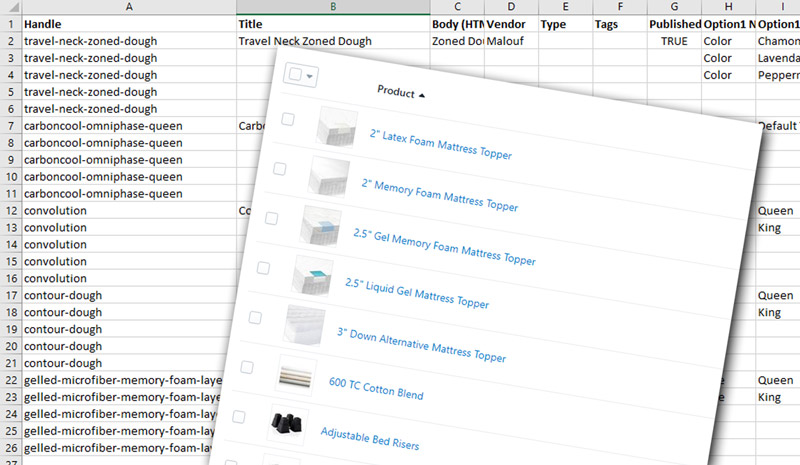
To do this go to Products in your Shopify Admin. Now go to Export which will bring up a dialogue box. From here you’re able to determine which products to export. You can export them all or choose from current pages or get even more refined by hand-picking only certain items or ones chosen through a selection of filters. Once you’ve made your decision, you can export into a CSV file which can easily be uploaded and edited in Google Sheets or manipulated in Microsoft Excel.
The steps to import products after you make the product changes are the same as mentioned above. The only thing you should be aware of is that once you Choose File and open the CSV, you’ll want to check the box that says Overwrite existing products that have the same handle. This will insure that you don’t have duplicate products but the changes you make overwrite your existing products. Now you can Upload File and be done!