httpvh://youtube.com/watch?v=rvYhyFg8owA
I’ll detail the basic steps below in writing for those of you who can’t watch the video for whatever reason. But make sure to watch the video later for more detailed information. Here’s the link to Elegant Themes mentioned in the video.
Step 1 – Add New Post
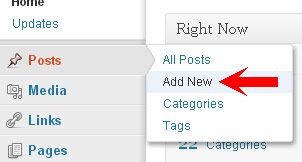 After logging in to WordPress, click Add New under the Posts menu
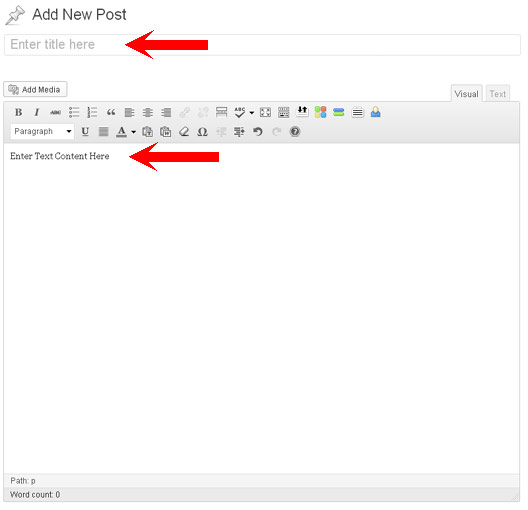
Step 2 – Add Title and Text Content
Type in title and blog content in the text editor in the areas in indicated by the arrows below. There are a few ways to add content to a WordPress blog. You can type content right into the text editor or you can copy and paste information from a Microsoft Word file or other word processing program.
If you’re copying content from Word, you may want to use the buttons Paste from Word or Paste as Plain Text in the WordPress editor to make sure the formatting does not get messed up. Sometimes if pasting from Microsoft Word, WordPress will add a lot of extra formatting code that can potentially mess up the formatting of the page. Using these buttons to paste in the text should keep this from happening. I usually paste in text as plain text using the Paste as Plain Text Button and then add formatting in WordPress.
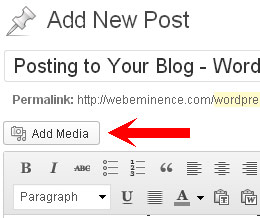
Step 3 – Add Pictures and Other Content
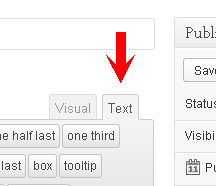
Add pictures using the Add Media button. For more information on this, you can read my post on adding pictures to a WordPress post or page. For adding Youtube embed code and any other HTML code to your WordPress post, you may need to click on the Text tab to view the HTML code of the post. Then paste in the HTML code into the text area where ever you want it.
Step 4 – Set Featured Image
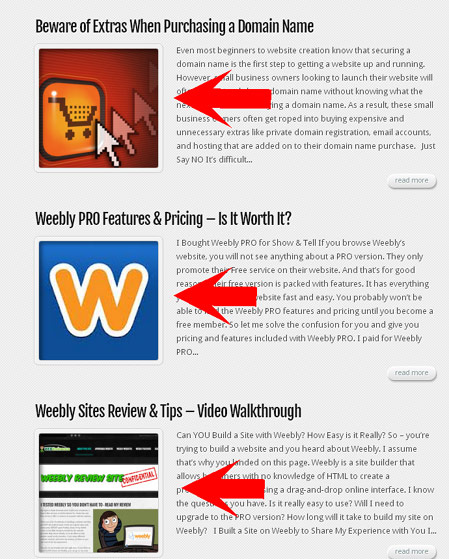
Many WordPress themes use featured images to display in the post itself or in other post lists. It’s really easy to add a featured image quickly and it can add a great visual look to your posts where ever they are featured throughout your site. See my blog index page below for an example of how featured images are used on my WordPress theme. How featured images are used depends on the WordPress theme you are using.
Step 5 – Set Categories and Tags
 Categories and tags are used to organized your blogs and allow visitors to find what they are looking for (and find things they were NOT looking for 🙂 )
The way categories and tags are used within your site will depend on your WordPress theme.
Think of a categories list as a Table of Contents or topics list of your blog. And then think of Tags as an index of subjects mentioned within your blog. For example, if you have a blog on cooking, you may have posts in different categories like “Vegetarian, Low-fat, Desserts, etc…” but you may use tags for ingredients used in each post so visitors can click on a tag like “ground beef” to see all blog posts that mention “ground beef”. Make sense?
You aren’t required to use Categories and Tags but I would suggest at least using categories if your blog warrants it.
Read this page on the WordPress support site for more info on the difference between categories and tags.
Step 6 – Preview and Publish
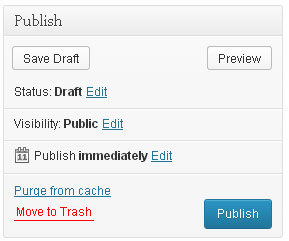 Click Preview to see your post live and make any final touches. Your post will usually look different when viewed live in a browser than it looks in the WordPress text editor so it’s important to preview it before publishing.
After you are content with the way your post looks, set the publish date to “immediately” or some date in the future when you want your post to go live. Then click the Publish button and you’re done.